All Blog Tags
Tips for Crafting Your Photo Book Masterpiece
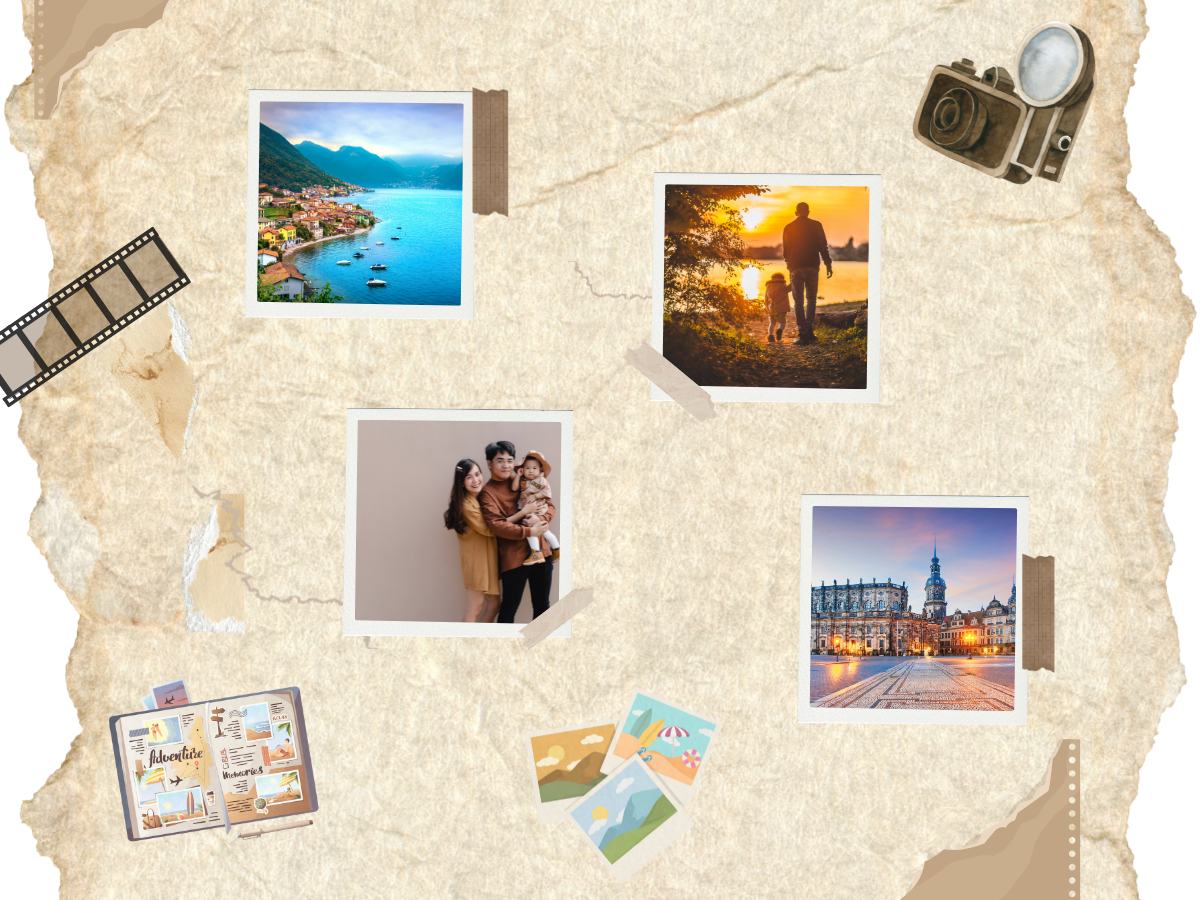
Photo books are a beautiful way to preserve treasured memories. Although it may seem like an intimidating process, creating a luxurious custom photo book is easier than you think! Read on to find out our top tips for making the perfect photo book.
Before You Start Your Photo Book
If you’re excited about making your first photo book, it can be tempting to jump right in and start creating! Although this might be your first instinct, it may be helpful to do a bit of prep work before you really begin. We recommend doing these three things before you really even start:
- Choose the topic, timeline, or event you want to feature.
- Select and organize your photos.
- Prepare your captions.

By getting these things out of the way you will ensure that your photo book making journey will be a breeze. Let’s dig a little deeper on what these three points entail.
1. Choosing Your Photo Book Topic & Theme
First, you need to figure out what your book will be about. Some popular topics include:
- Yearbooks (a year in review, your baby’s first year, your first year of marriage, your first home together)
- A big event (a trip abroad, a big birthday celebration, retirement party)
- A multi-year journey (your child’s elementary school years, a career retrospective, documentation of a family tradition through the years)
You can really make a photo book about anything! The key is to make sure you have enough photos. A good minimum is between 50-100 for a substantially sized photo book.
2. Selecting Your Photo Book Photos
Next, you want to choose which photos you want to include and organize them accordingly. Make a separate folder on your computer to house all your photos so that you can have easy access to all of them when you start. If you’ve got lots of photos, it may be worth organizing them into subfolders too. If you’re making a yearbook, it could be useful to separate your photos into folders for each month. If you’re documenting a special trip, you could sort your photos into folder for each day or location. Chose a system that makes sense for your photo book.
3. Writing Your Photo Book Captions
Finally, it can be useful to write out titles and captions for your photo book. Although captions are not mandatory for a photo book, they can be useful in providing context down the road. The photos you choose may be fresh in your mind now, but will they be a year from now? How about five or ten years?
Even a simple caption, like one stating the date and location of the photos, can help to jog your memory and/or explain what’s going on for someone who didn’t experience the events firsthand. Preparing your titles and captions in advance will ensure that you don’t have to scramble for them when you sit down to make your photo book, making the experience all that much more pleasurable.
Make Your Photo Book Pretty (and Practical)!
Now, it’s time to choose a photo book layout! No matter where you create your photo book, there will be plenty of layout options to choose from. When choosing your layout, you want to be mindful of two things: the overall style and the number of photos that’ll fit on each page.
When looking out for a style, it’s key to know what you’re looking for. If you want to create a timeless, elegant photo book that won’t go out of style, chose a design that is clean and simple. But if that’s not how you do things, that’s okay! A fun and trendy layout has its perks, too. It shows off your originality and will be a treat to look at years down the line. A little sign of the times!
As for how many photos you want to fit onto a page… that really does depend on the photos themselves! If your files aren’t very high in quality, it might be worth printing them smaller and having multiple photos per page. If you don’t have too many photos and they’re all high quality, one photo per page might be a good way to go! And don’t forget that you can always mix and match your layouts for different pages and sections of the photo book.
Photo Book Tips, Tricks, and Little Details
Congratulations, your photo book is almost finished! It’s now time to fine tune and add those little details that really make a photo book feel complete. Here are a few finishing touches you might want to add to your photo book:
- Title pages
- Page numbers
- A page index
When adding text, it’s important to have one or two consistent fonts and colours that work well together. This is a great way to tie all your pages together!
Also, you can’t forget the photo book cover! Though they say that you shouldn’t judge a book by its cover, that’s not always the case in practice. The cover is the first part of the book you see, it’s the very beginning of the story you’re trying to tell.
Make sure your cover works with the design of the photo book’s interior, keeping everything cohesive. While you can certainly put a photo onto the cover, many companies also offer fabric covers that can really give an elevated look to your photo book project. Play around until you find an option that’s right for you and your work!
Finally, don’t forget that photo books make incredible
custom photo gifts! So, if you are making one for yourself, think about whether you want to print additional photo books to give as gifts for an upcoming special occasion. Or, often you have the option of saving your photo book and then coming back later to order more copies.
Your Photography Creativity & Memories Preserved in a Beautiful Photo Book to Cherish
So, now you have all our top tips on how to make a beautiful custom photo book! Don’t forget to also choose your photo book printer wisely – consider price, shipping, and quality. Also, if you are in Canada, shop for your photo book locally to support a Canada-run business. Annex Photo, experts in bringing photography creativity to life, are happy to offer lovely
photo books in Toronto and Canada-wide.
We hope these tips are helpful, but if you do implement them remember that they’re just guidelines, not rules. If you want to do something differently for your photo book project, follow your instincts! Photography creativity is never wrong!
Share
Most Recent Posts