All Blog Tags
Starting Your Photography Creativity Journey – Your Film Questions Answered
With the allure of old film cameras and the variety of film available on the market today, the world of film photography is an exciting place to delve into!
Every step of shooting and processing film is an extremely rewarding journey that all photographers should experience. Starting with film photography can be daunting at best and frustrating at worst. Annex Photo’s in-house passionate, life-long film and photography experts can help you start your journey with film and (hopefully) truly fall in love with the medium.
First in a Tough Film Questions blog series, this blog will address different film formats, film types, and many common problems that blossoming photographers run into when starting out with film. If you have any burning questions about film, comment below to let us know because we plan on tackling more in future blogs.
What Types of Film Exist?
When starting to explore the world of film photography, it will become evident that there are many different types of film made by different companies, so it’s hard to know where to start. Before jumping into the multitude of films available, it is first important to understand how film works to capture an image.
Light is what makes photography possible in all its forms. When you are taking a photo with your film camera, the camera is exposing the film inside your camera to available light in the photos you are framing. Ultimately, photographic film is sensitive to light and undergoes a chemical change when exposed to light.
While all films are light sensitive, there are important distinctions to be made. The three most common types of film that exist are:
- Colour film (C-41),
- Black and white film, and
- Slide film (E-6).
Both colour film and black & white film utilize a chemical process where the light you capture in your image is translated into a negative image on the film strip. This essentially means that all colours (or lights and darks) are captured by the film in their reversed state and when scanned or printed are changed into a positive image resulting in correct colour and light rendition. Slide film is a type of colour film that produces a positive image on the film strip rather than a negative one.
Within these types of film are many different film stocks that produce different results varying in contrast, saturation, overall grain or sharpness, and more. While there are too many films to outline all your options, here are few to explore.
Many people gravitate to colour film (C-41) as we are used to seeing colour images making it a great place to start your film journey. There are many C-41 films on the market today; here is a glimpse into the far-ranging differences between film stocks – highlighting two widely available films rated at the same ISO speed: Fujifilm Superia X-TRA 400 and Kodak Portra 400.
Fujifilm Superia X-TRA 400 is a common general-purpose film providing a wide exposure latitude making it a great all-purpose film. Exposure latitude refers to a film’s range of sensitivity to light within a rated ISO speed. A wider exposure latitude means a film has greater sensitivity to light within the labeled ISO, making the film more capable of capturing an image in unideal light situations.
In comparison, professional film
Kodak Portra 400, offers beautiful colour rendition. It is specifically praised for its rendition of skin tones and offers a very fine grain structure, producing beautifully sharp images. However, the exposure latitude is limited.
In terms of black & white film, there are many options, all offering different characteristics. A time-tested and affordable favorite is
Ilford HP5, one of the longest running film stocks still produced. Rated at ISO 400, with Ilford HP5 you will be able to achieve a retro look with a nice grainy structure and strong contrast.
Another great B&W film offering a very different look is
Fujifilm Neopan Acros 100II; a modern emulsion released a couple of years ago as a re-release of one of Fujifilm’s classic B&W film stocks that had been discontinued. Neopan Acros 100II offers amazing sharp images that have a beautiful tonal gradation, meaning the film is capable of expressing a wide range of tones on the grayscale accurately.
Slide film is not as common as it used to be, but there are still a few options you can choose from. If you are looking for high levels of colour saturation and razor sharpness in your images, slide film is exactly what you need. One downside of slide film is that it has very little exposure latitude; your exposures must be spot on when using slide film to get the best results. One slide film that might be a nice place to start is Fujifilm Velvia 100 which produces beautiful natural colour saturation and vibrant colors.
How to Choose the Right Film Size?
In the world of film photography, there are different sizes of film utilized by many types of cameras, but the two main types are 35mm film (used in 35mm cameras), and 120 film (used in medium format cameras). There are many advantages to both types of film, read on so you can determine what is best for you.
It is important to remember that each film camera out there will only accept one type of film, with the 35mm film camera being the most common type of camera with the largest variety of film stocks available today. The variety of
35mm film ranges from general purpose film to
professional film, and even specialty experimental film such as
LomoChrome Purple XR. General purpose
colour films such as
Fujifilm Superia or general purpose B&W films such as
Kentmere 400 can be a great and cost effective way to take your first steps into film photography.
There are also many professional options available on the market in both colour and B&W that all carry their own unique characteristics providing a world of exploration when it comes to finding the look you desire for your film images.
Another important advantage of 35mm film is that many of the cameras that utilize film, especially SLRs and point and shoot cameras, are an affordable and available means of getting into film photography. 35mm film also provides many exposures in a roll, usually 24 exposures or most commonly 36 exposures, allowing you take many more images than a 120 roll offers (usually 8-16 exposures). With the portability of many 35mm cameras and the high number of exposures 35mm films offer, this format of film is a great place to start your journey with film as it will allow you to start easily and economically taking images on film.
120 film also provides many advantages which largely have to do with the amazing resolution and quality 120 film provides. The size of a 120 negative is much bigger than a 35mm negative which allows for a much larger physical image to be captured onto the film. This results in a very sharp image.
Another interesting difference with 120 film is that, due to the size of the negative, different medium format cameras produce different photo dimensions. Essentially this means some cameras produce images in a 6x6, 6x7, 6x8, or 6x9 ratio. With a little bit of research, it is easy to determine which ratio a specific camera uses.
There are many film cameras out there to explore and lots of film stocks that come in both 120 and 35mm sizes, making the world of film photography diverse and exciting in the shooting options it provides.
How to Choose the Right Film Speed?
An important aspect of film photography is that each type of film has a different set sensitivity to light called
ISO, ratings that were set in 1988 by the International Standards Organization. Just like in digital photography, films with a lower numbered ISO are less sensitive to light while higher rated ISO films are more sensitive to light making it extremely important to choose the correct ISO film for the lighting situation you are shooting in.
It’s also important to remember that the ISO of the film you are using is fixed; once you set that ISO on your camera, you should not change it throughout the roll to preserve correct exposure when developing your film. In films available today, there are ISO ratings available from 25 ISO to 3200 ISO.
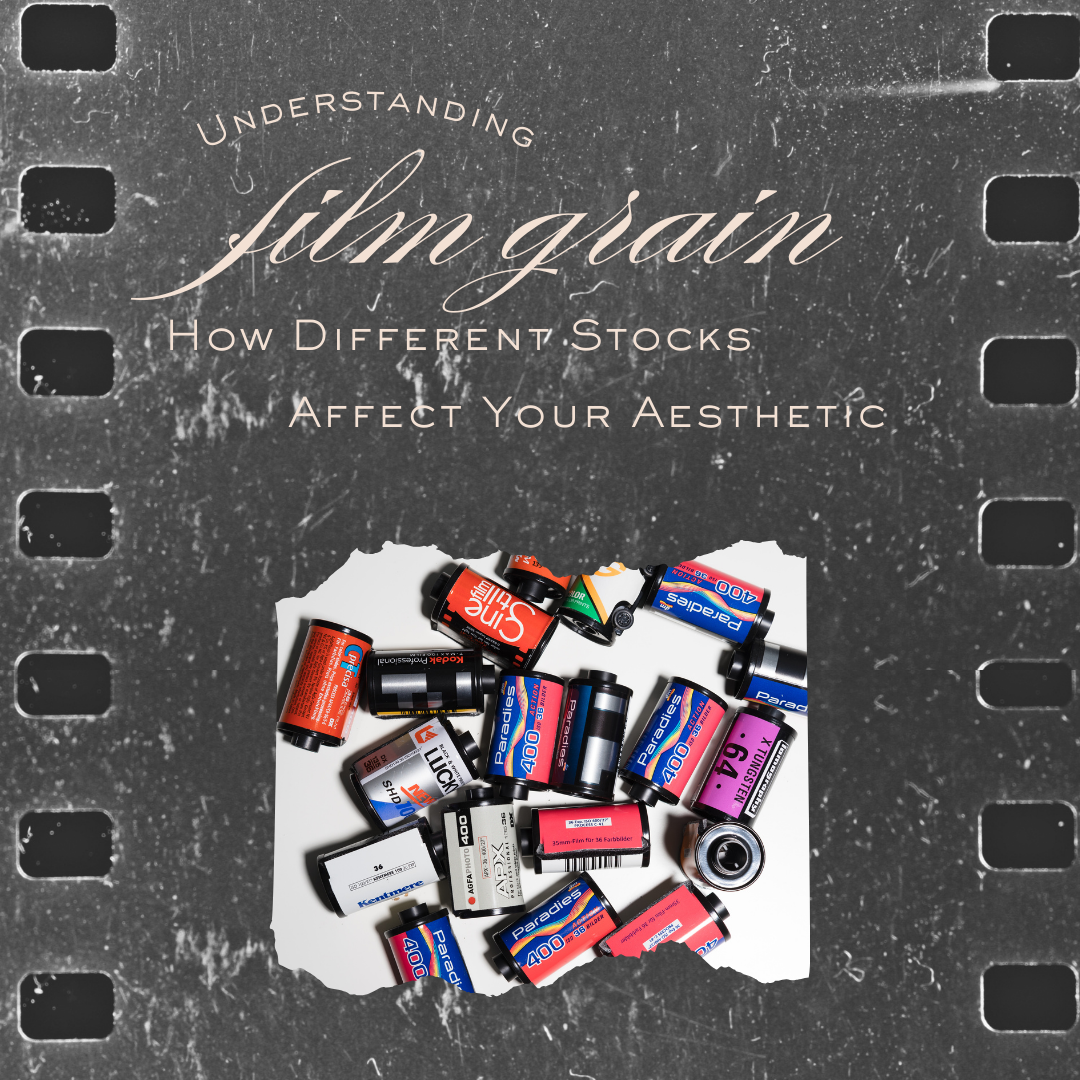
While different ISO ratings indicate different sensitivity to light, generally they also in indicate a different amount of grain or sharpness. Lower ISO films are more sharp and less grainy while higher ISO films are normally grainier. Graininess of film does vary between film stocks with some being sharper than others. A great example of this variation in grain within similar film speed would be between
Ilford Delta 100 that is a more modern emulsion with high levels of sharpness in grain, while
Ilford FP4 Plus rated at 125 ISO has noticeably more grain than that of the Delta film.
Troubleshooting Your Film Photos
When starting out with film photography, it can be hard to understand why your pictures might not have turned out as expected. In some cases, this is due to camera error in exposing the film, in other cases it is user error. Here are some common issues faced with film photography.
One issue you might experience when starting with film photography is that some of your images are not actually being captured on the film negative. In some cases, the spaces where the image was taken might be blank, showing up as completely clear when developed. This is most likely due to a camera’s shutter, the metal or plastic apparatus in a cameras lens that opens and closes to allow in light, not opening therefore not exposing the film to light.
In another scenario, a frame might be completely black or significantly fogged (an image on a negative has been exposed to too much light producing a foggy or quite dark cast), ruining an image. This is because the film has been exposed to too much light. In many cases, this can be due to light leaks in your camera; the housing of the film in the camera is not fully light proof because the camera’s light seals have eroded or disintegrated over time. This issue can also be caused by the photographer; for example, if the photographer opens the back of the camera while shooting a roll of film or even after the roll is complete but has not yet been rolled back into the film canister.
Another challenge a novice film photographer may experience with film photography is achieving correct exposure when taking an image. In many cases, a camera’s light meter, a tool built into many 35mm film cameras reading the strength of light in a scene you are framing, will aid or even dictate your camera settings to achieve a correct exposure. It is important to note that not all cameras have built in light meters, for example many 120 cameras do not have light meters and many 35mm cameras from the 1960s or older do not have light meters. There is also the possibility of a vintage cameras light meter being broken, which you can usually see if the internal light meter reading in a camera’s viewfinder is not responding to different lighting situations when turned on and powered by the correct batteries.
At the end of the day, there are many situations that can dictate how you expose an image, such as the light sensitivity of film you chose, what light source/area of a scene you are metering for, or whether you are shooting outside or inside.
One of the best ways to learn proper metering and exposure is trial and error paired with a conscious effort to remember or record what settings you utilized when taking an image. Only by shooting many rolls of film in different lighting environments will you truly learn how to achieve the look you desire for your images.
Ready for Your Film Photography Kickoff?
The world of film photography is vast and exciting, picking up a film camera might be daunting, but it’s also all the more rewarding when you get those first prints back!
Do you have your own film photography questions?
Comment below and our Annex Photo Experts will address them!
Share
Most Recent Posts


